One thing I love in my garden is a potting bench. Mine sits on my back deck and doubles as a serving area when we entertain in the summer. We built this together a few years back and it is one of our favorite DIYs still. Click on the photo to see how we did it!

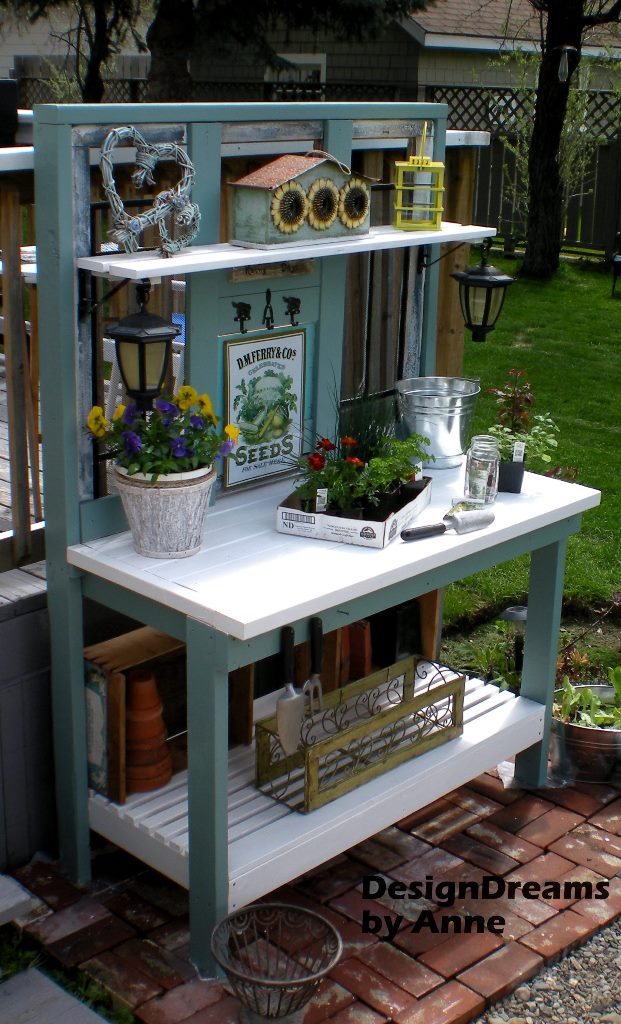
This next one was built by Anne of Design Dreams by Anne. She is an amazing builder and she shares how she built hers too. I love it when there is all the building details when I find something online that makes my heart skip a beat. I may never get to building it but at least if I ever want to I have it!
Becky at Beyond the Picket Fence has a working sink in hers. You gotta love a potting bench in bright colors and has a working sink! I also adore the potting soil drawer. This is truly a hard working potting bench but oh so fun looking.

Add a little roof and a brick floor and you pretty much have a potting bench garden room. Isn't this a sweet set up from Fishtail Cottage.

How about taking an old china cabinet flea market find and turning it into this! Better Homes and Gardens even shares how to do it yourself.

Another great potting bench set up on BHG...I love the signs alongside. Actually I love it all!

Have you seen any good potting benches lately?
Until next time...
Happy Gardening!

.jpg)
.jpg)
-001.jpg) I have found many other trugs and toolboxes online for more added inspiration.
I have found many other trugs and toolboxes online for more added inspiration.