Saturday, June 29, 2013

White Chocolate Macadamia Nut Cookies

White Chocolate Macadamia Nut Cookies

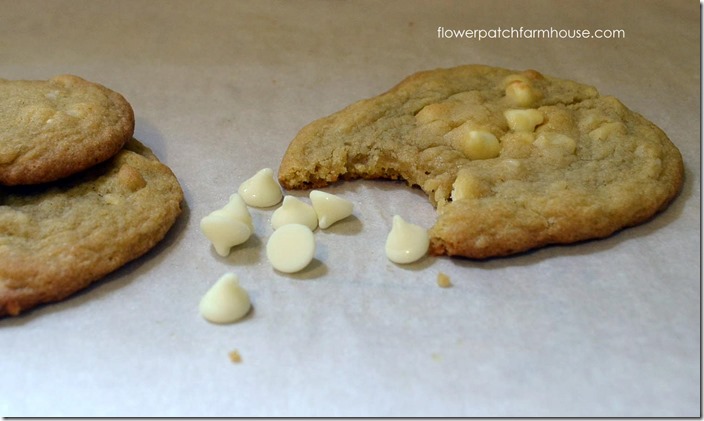
Are you drooling yet??? 

I will give you a minute to really get a good look at these delightfully calorific temptations.

cookies2

I know, I know.

My food photography leaves a lot to be desired. 

I was tired….

we helped some friends move over the weekend and by the time we got home and I remembered promising my hubby I would bake him his favorite cookie I was beyond cognitive thinking.

Much less artful photography of my cookies..

in bad light.

cookies

So I promptly gave up and dug in.

I nearly made the fresh hot cookies my dinner but I stopped at one…

at least until after dinner. 

I am including the recipe just so you can enjoy their deliciousness as well..

I am good that way.  Smile


White Chocolate Macadamia Nut Cookies
adapted from Recipes.com

Ingredients:

· 1 cup butter, softened

· 3/4 cup packed light brown sugar

· 1/2 cup white sugar

· 1 teaspoon baking soda

· 1/2 teaspoon salt

· 1/4 cup coarsely chopped macadamia nuts

· 1 cup white chocolate chips

· 2 eggs

· 1/2 teaspoon vanilla extract

· 2 1/2 cups all-purpose flour

· 1/2 teaspoon almond extract


  • Preheat oven to 350 degrees F (175 degrees C).
  • In a large bowl, cream together the butter, brown sugar, and white sugar until smooth. Beat in the eggs, one at a time, then stir in the vanilla and almond extracts. Combine the flour, baking soda, and salt; gradually stir into the creamed mixture. Mix in the macadamia nuts and white chocolate. Drop dough by tablespoonful onto ungreased cookie sheets.
  • Bake for 10 minutes in the preheated oven, or until golden brown.


Now I won’t gain ten pounds alone.

They tasted even better today.  I must’ve been the rain, and more rain today…

I have one thing to say…”where is summer?” 


Pamela

Thursday, June 20, 2013

The Earth Laughs in Flowers

I may have mentioned this before…

and most likely will do so again,

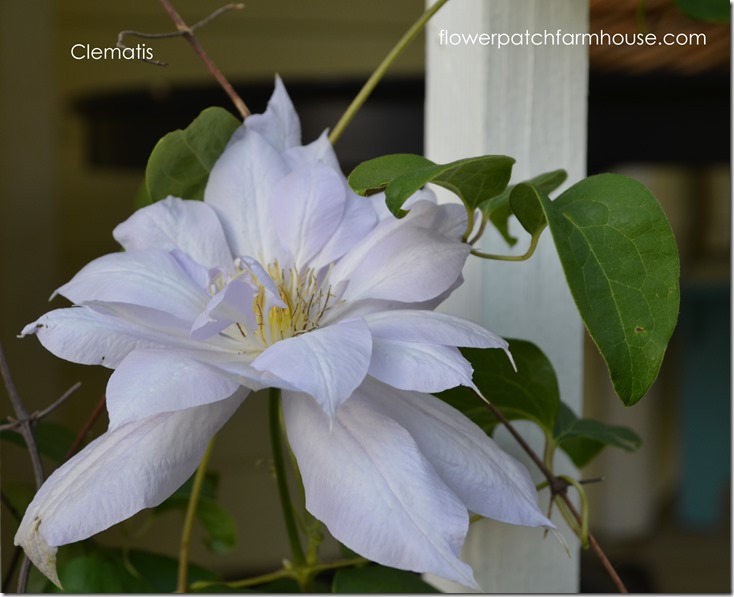
whiteclematis

….and again.

I love this time of year!

asiatic lily

I wait all winter for my garden to awaken. 

It is a treat well worth waiting for.

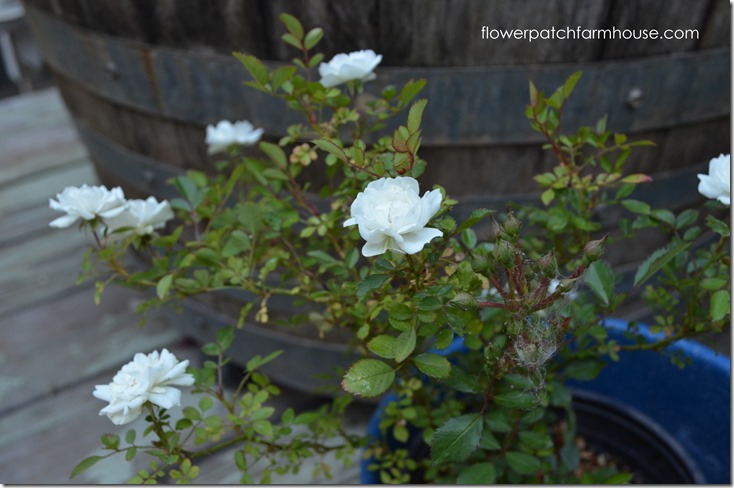
bittywhiterose

A few moments in the garden bring me a sense of peace in a crazy daisy world.

clematis on rose

I start my day with a hot, fresh brewed cup of coffee in one hand and my camera in the other.

So I can share…

coreopsis

The robins are here, bright and early, snitching strawberries. 

Strawberries I have let roam as ground cover wherever they please. 

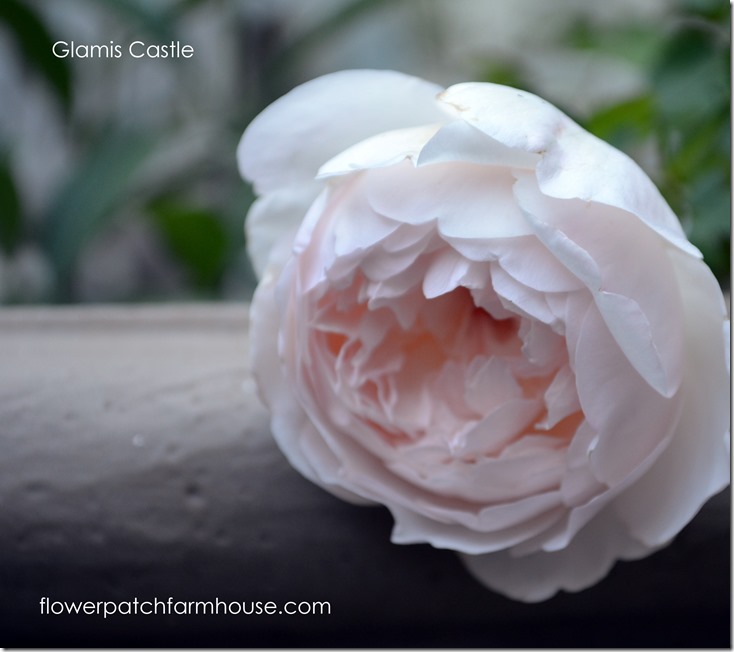
glamis castle rose

They are tucked beneath roses, along walkways and hidden beneath over grown perennials.

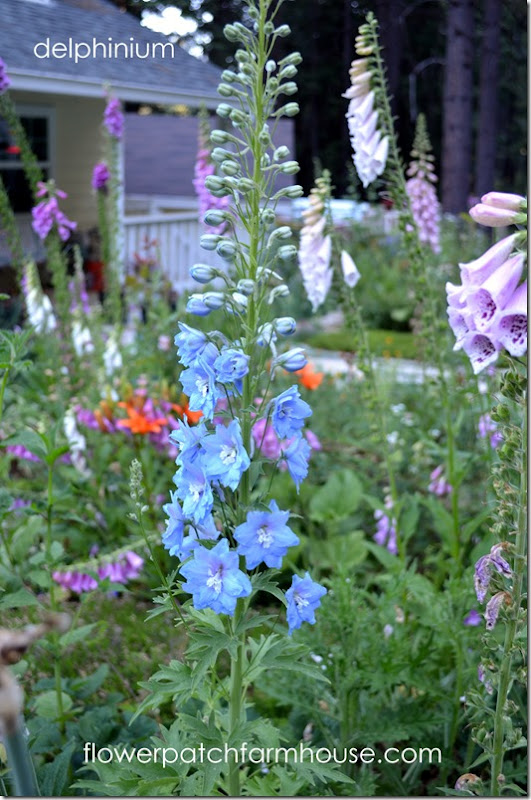
lightbluedelph

They are a treat and I set my camera down to pick a few.

I actually do get some, even if the robins are making a feast of them.

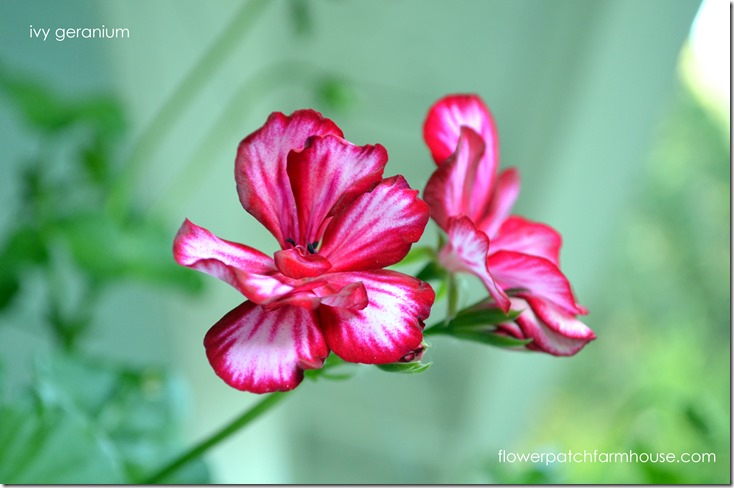
ivygeranium

I could be irritated that I lose most of the berries to the birds, but they are so comical as they wrestle with a berry that is nearly as big as their own heads….

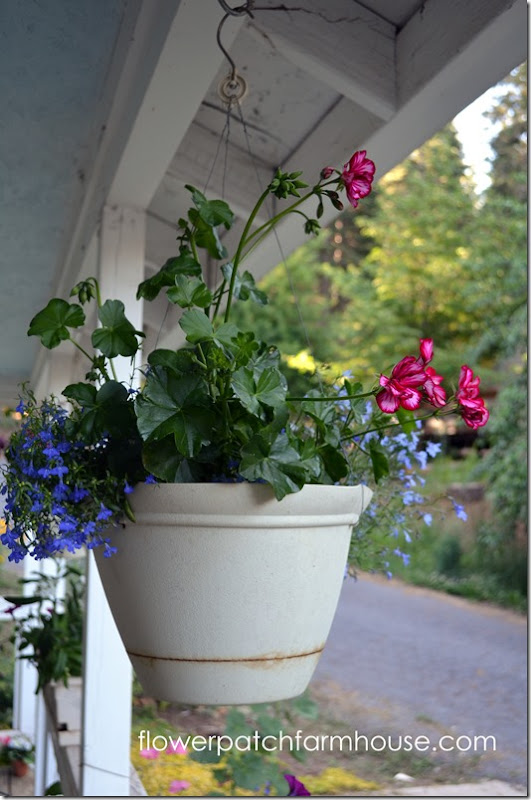
flowerpot

…it makes me smile instead of annoyed.

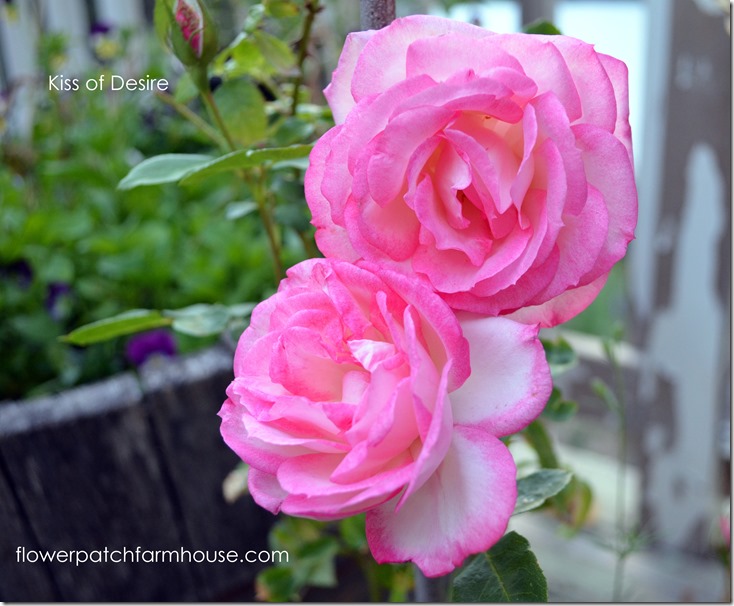
Kiss

Bumblebees are perched on blooms. 

Still and silent.

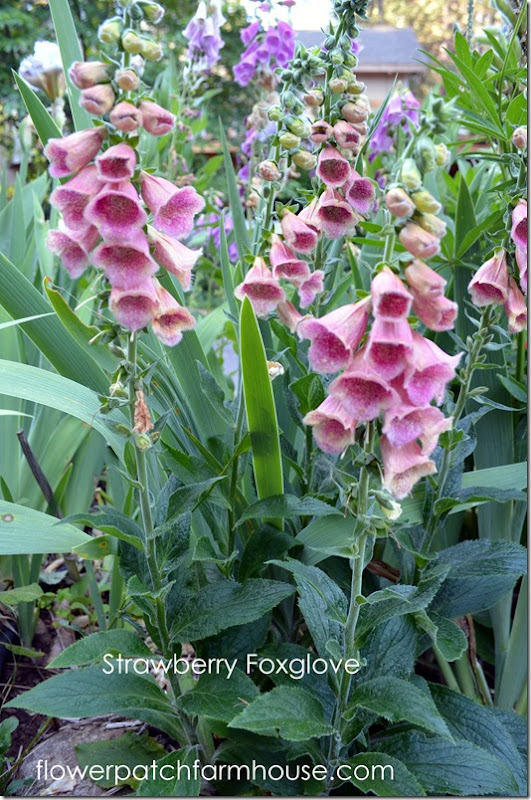
Strawberry Foxglove


The morning mountain air is still too chilly for them. 

They wait patiently for the suns warming rays to come over the trees.

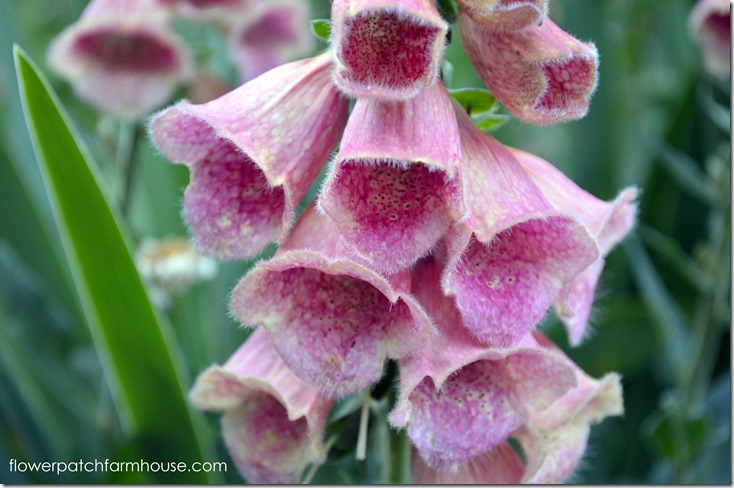
Strawberry Foxglove1

I can’t say that I blame them…

40 degrees in June is just too cold. 

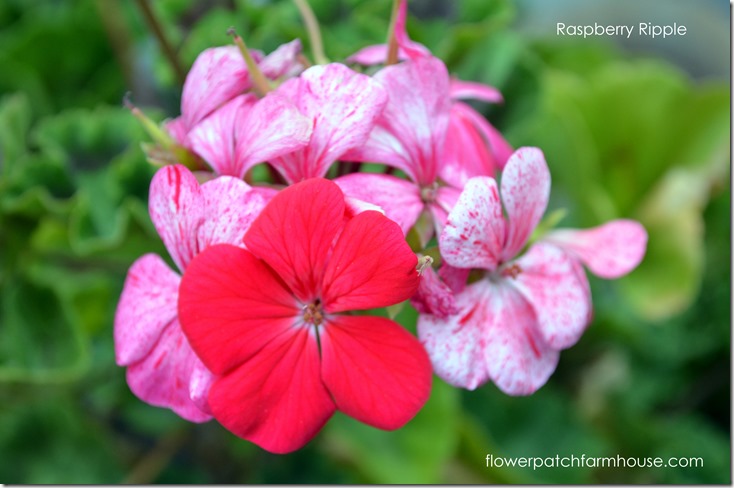
raspberry ripple

Even at night.

Warmer days and nights shall come…

DSC_0019


At least that is what I tell myself as a shiver runs over me.  Brrr. 

How is your weather?

Are you sweltering as we still sweater up? Smile

DSC_0009

I will look at the bright side…

at least it isn’t SNOWING!

Time to head to the studio and paint my day away…

I wish you sunshine and warm temps on this fine day. 

signaturePamela

Wednesday, June 19, 2013

Easy Garden Obelisk

Happy day to you…my friends.   It is time for another garden project.
This one has been germinating in my brain for weeks now and has finally come into bloom.
A garden trellis obelisk
obelisk1
Why do I call it easy???
Because unlike all the obelisk plans I found online this one has no angle cuts.
Since it is going in the garden and I plan on it being covered with something that climbs I did not care if edges matched up precisely or were perfectly mitered.
I wanted fast and easy…
Want to see how we built it?

 Click here to see the rest of this POST


signaturePamela

Monday, June 17, 2013

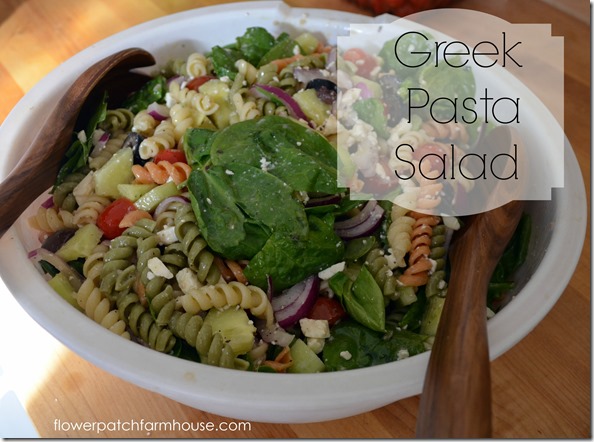
Fabulous Greek Pasta Salad

greeksaladopener

Tomorrow will be a bittersweet day.

We say goodbye to some special friends. 

They are moving to be closer to family, which is a good thing for them but a sad circumstance for us.

On the upside, we get to have a large going away party for them and there will be FOOD.

Lots and lots of very good food.

‘Sigh’

I love food.

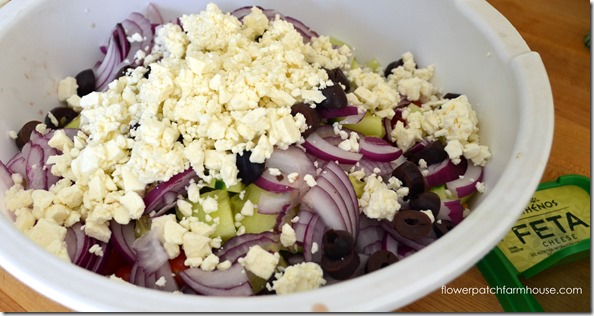
greelsalad12

The sun will shine, the temps may reach the upper 70’s (if we are fortunate, been on the cool side the past few days here on this mountain) and we will be with friends.

My latest fave ‘to go’ dish is….. Greek Pasta Salad.

greeksalad3

Most everyone loves it and if you are fortunate enough to get to take any home…

it is even better the next day. 

It is easy to make too…

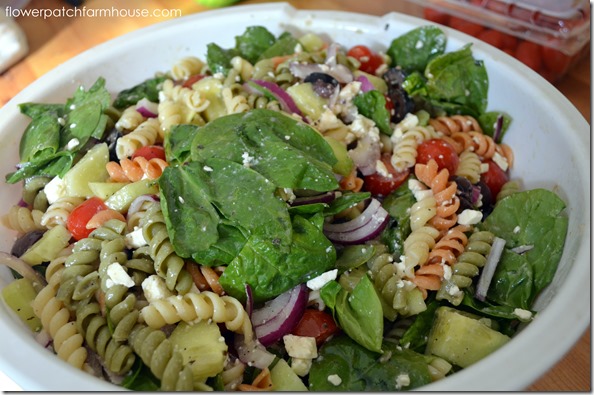
greeksalad

Can it get any better than that?

Greek Pasta Salad

Recipe from My Recipes

  • Dressing:
  • 2 cloves garlic, finely minced
  • 1 teaspoon dried oregano
  • 1 teaspoon Dijon mustard
  • 1/4 cup red wine vinegar
  • 1/2 teaspoon salt
  • 1/2 teaspoon pepper
  • 1/2 cup olive oil


  • 1 pound gemelli or other short pasta
  • 3/4 medium English cucumber, peeled, halved lengthwise, cut into 1/4-inch pieces
  • 1 dry pint cherry or grape tomatoes, halved $
  • 1/2 large red onion, thinly sliced
  • 1 cup pitted kalamata olives, halved (I cheat if I don’t have enough Kalamata I use black olives to supplement)
  • 6 ounces feta, crumbled
  • 3 cups firmly packed baby spinach
Preparation
  1. 1. Make dressing: In a small bowl, whisk together garlic, oregano, mustard, vinegar, salt, pepper and olive oil until well combined.
  2. 2. Make salad: Bring a large pot of salted water to a boil. Add pasta and cook until al dente, about 8 minutes, or as label directs. Drain, rinse under cold water and transfer to a bowl. Add remaining ingredients, toss with dressing and serve.

Take a copy of the recipe with you.

You will be asked for it!

Have a fantastic weekend!

Pamela


Summer Inspirations Recipes, Funky Junk Party, Weekend Wrap Up PartyShare Your Creativity, Metamorphosis Monday, The Sunday Showcase, Pink Saturday,

Wednesday, June 12, 2013

iPad Display DIY courtesy of Shanty-2-Chic

Did any of you see the great DIY gift idea over at Shanty-2-Chic

I LOVED it!  An iPad display aka: Keep your IPad out of the way but visible while you do stuff.

image

In fact I have enjoyed their blog for a few years now, it was one of the first ones I got hooked on before I even tried my hand at blogging back in 2010.

I immediately was smitten, they were into TOOLS and building things.

They provide easy instructions so I do not have to think…a plus…and they keep coming up with things I have on my to do list.

Just recently they showed a DIY for a hose holder, a nice drink cooler, some really cool tables and, and…

…well the list goes on.

Soooo.. that being said you must pop on over and see what goodies they have for you.

And without much further ado….

here is my version of the iPad Display…I had such visions in my head…

ipadholders

and yet I must admit it did not turn out the way I thought.   I think they turned out too busy..

pansyipad

and if you look close you will see I got the dimensions wrong  on two of them.

ipad2

1st faux pas….can you see on the Rose display above…..the front is taller than it should be..I still can’t figure out how I did that…

ipadholders

and now look close at the photo above…

the center display is narrower..I did not do that on purpose either, I just had turned it sideways. 

Did I mention sometimes I don’t think??? 

And yet I still had fun with these.  I used chalkboard paint for the background (so you can write love notes when no iPad is present) then added the decorative painting. 

Now, if mine can turn out despite my obvious struggle to pay proper attention then certainly this project is a breeze for someone who can keep their wits about them. 

Now to make it more manly for dad’s, paint sports motifs or just stain it like the gals over at Shanty-2-Chic did. 

It is a perfect holder to keep the iPad from getting buried under the piles in the Man Cave, don’t ya think???

Do visit the ladies over at Shanty, you will be glad you did. 


Ta ta…happy building.


signaturePamela

Tuesday, June 11, 2013

How I plant Iris

fiftyfifty

If you have read my posts lately you will know that I do not profess to follow the text book way of gardening.

Not at all..

I am lazy, find short cuts and just free wheel it.

Really..

So if you are wanting to follow standard rules of how and when to do things in the garden then I must warn you, you are in the wrong spot. Smile

My methods have been learned by first hand trial and error over the past 20 years in various climates, conditions and zones.

That being said, on with the show!

If you want reassurance that this method will work just take a quick peek of my latest Iris posts.

Each photo is a separate post filled with my Iris’

two tone burgundy Prince Edward560Starship Enterprise

Despite my disclaimer I am so glad you stayed,I love sharing my garden with you all.

My last post was about ‘how I dig up and separate my iris …’

I will say that the standard procedure for “when” to dig up and transplant your Iris is 6 to 8 weeks after bloom, but I do it anytime after the current blooms fade and are done for the season.

dig in

Have you dug up your iris, separated them, cleaned them up? (spraying the dirt off with a hose so you can see if there are  bugs or rot to cut out is optional)

You can plant what you want to keep right away or wait awhile.  They are not too fussy.

Share the extra rhizomes with your friends, they will love you forever.

Now find the keepers a fresh place in your garden…

  a spot that gets a good 6 hours of sun each day and has good drainage.

Iris can withstand drought but not soggy feet.

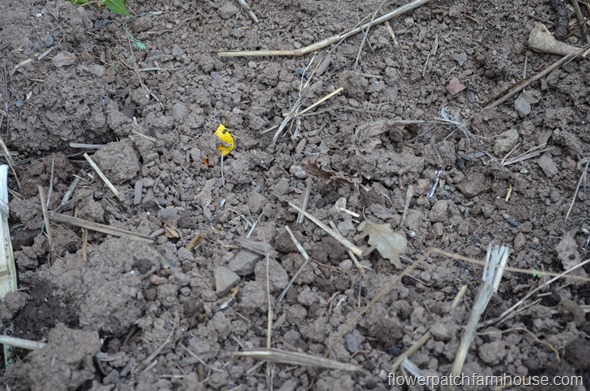
DSC_0010

Here is my spot (nothing special here)

DSC_0011

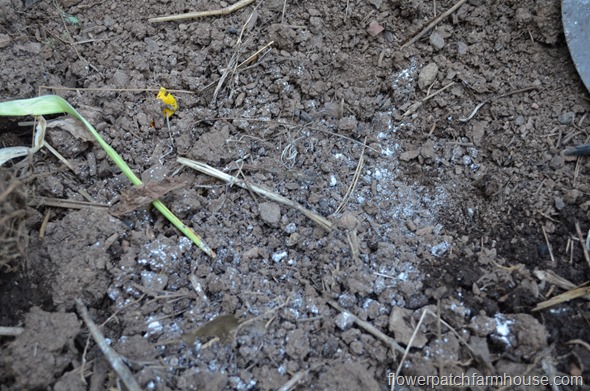
Sprinkle on a tablespoon or so of Bone Meal to help them along

DSC_0012

Stir the bone meal up in the dirt, mixing it in lightly

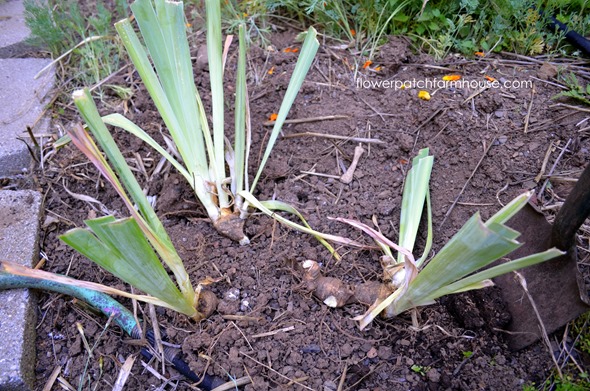
trio

Now you can plant just one rhizome.

OR

if you wish a batch of one color in an area here's the trick.

Plant three with the pointy nose of the rhizomes facing each other in a sort of circle.  Spacing is not critical but I place mine about 3 inches apart.

Water them in and keep them watered through the summer, not soggy though.

Do not bury deep.

Iris like to be close to the surface. I leave a bit of the tops showing when I plant, that way I know they are not too deep. 

In cold, cold climates do mulch a bit before hard cold starts but be sure and rake it back as soon as warmer weather begins. 


DSC_0024

And one day next Spring, you will have some fresh Iris blooms to enjoy, and if they take a bit longer it will be the following season.  All the sweeter for the wait.

I hope this helps all those out there that were skittish about digging up and dividing your overcrowded Iris.

It really is this simple.

Until next time! Ta…

signaturePamela

here is another side note:  My garden soil has been amended over the past 15 years with chicken manure and compost so it drains well, is crumbly and great for planting in. 

The best thing you can do for your plants is feed the soil.  That is different than feeding your plants.

Pink Saturday, Tatertots and Jello, Metamorphosis Monday, The Sunday Showcase, Crafto-Maniac, Inspire Me Tuesday

Monday, June 10, 2013

June 10 Garden Tour

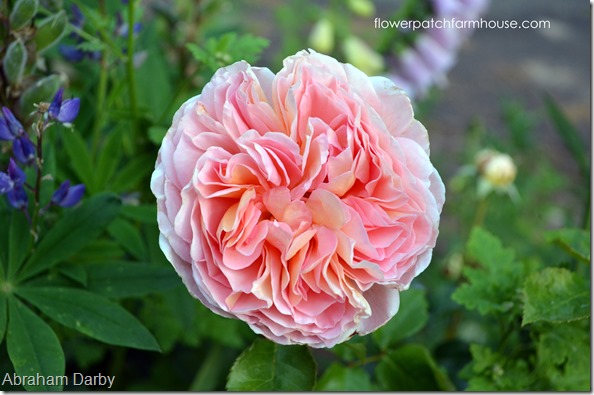
abrahamdarby2013

Are you ready for some eye candy?

Florally speaking.

DSC_0019

Tess D'Urbervilles

Then, have I got a treat for you.

Seriously.

So come join me on a garden walk again. 

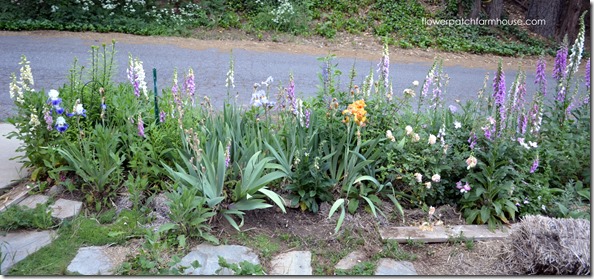
The iris and a smattering of clematis reigned supreme for a couple weeks…

sideirisandfox

but now the roses and foxgloves are taking center stage.

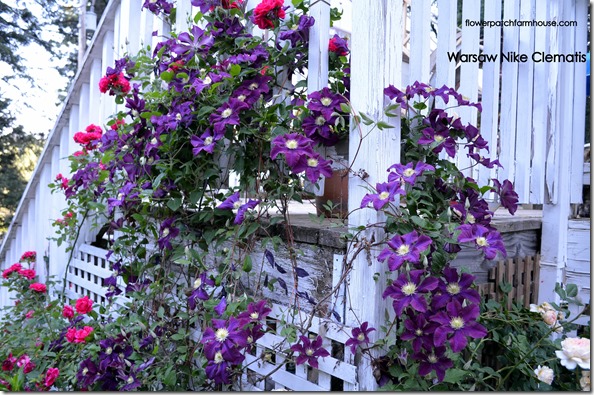
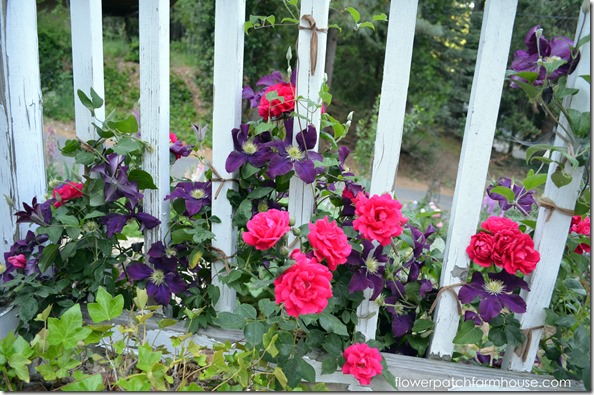
My Warsaw Nike clematis is still showing off and will for most of the summer.  I have to keep tying it higher and higher.  I love this Clematis, it just does not quit.

Warsaw Nike

This is my back stairs.  Now from the other side,

warsawnute

Warsaw is snuggled up to my Grandpa Nute Rose.

There is a story behind that rose, and I have told it before, but I shall tell it again

One day.

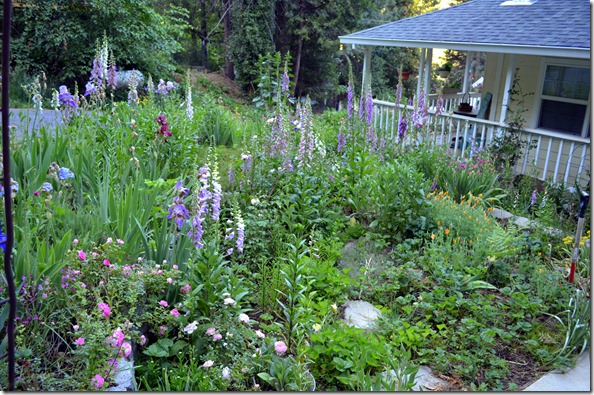
In places, the garden is getting way ahead of me…

believe it or not, there is a pathway thru there somewhere, complete with stepping stones.

Really!

I promise.

path

Look close and see if you can find it. 

My Tess rose is nearly covering the arbor on one side.  I have Eden on the other but I am planning on putting another Tess Rose in its place so there is red on both sides of the arbor.  Eden will get a nice new home.

Tess

Eden will get a nice new home.

Somewhere, around here.

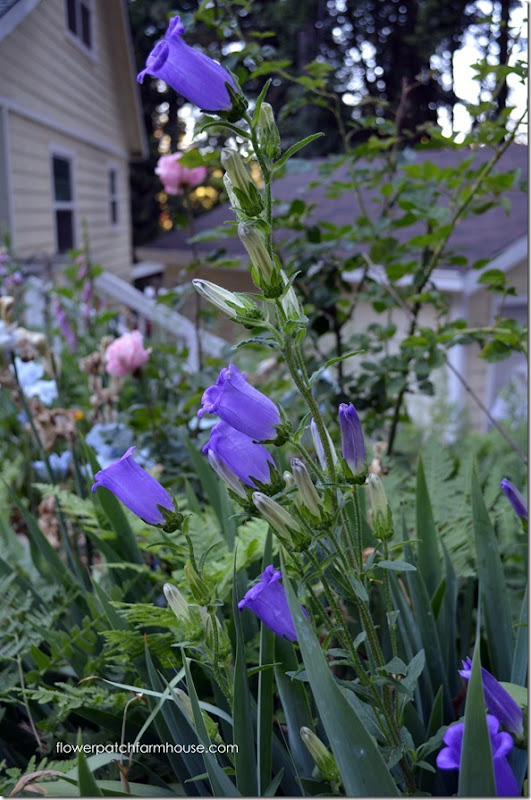
Canterbury Bells provide a splash of purple in what is now a more pink garden.

canterbury bells

Soon the garden with be dominated by yellows and oranges.

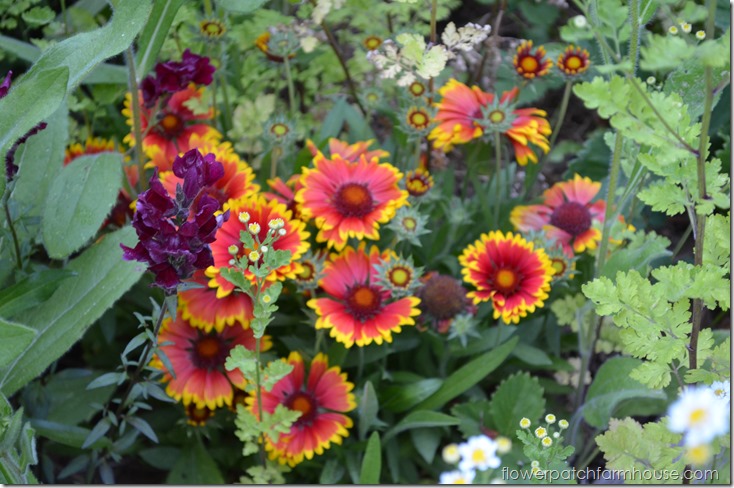
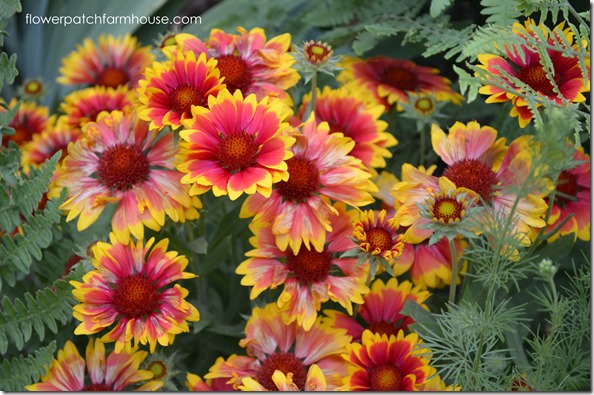
Below are my Gaillardias, another tough, drought resistant, never stops blooming performer.

gallairdias

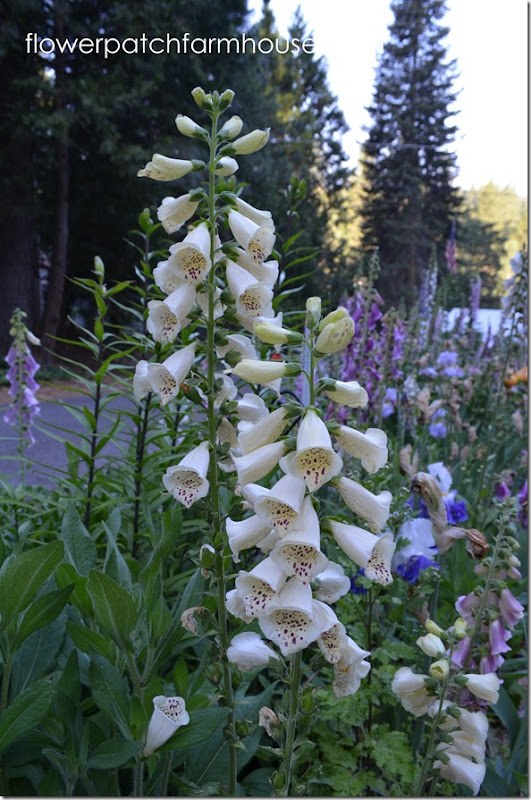
Foxglove, this one leans towards a creamy yellow in color.  The only one like it in my garden.

bananafoxglove

This is barely a smidge of my floral abundance right now but your eyes would glaze over if I kept going

I am not sure why but the deer are not coming around. 

Last night they were in my neighbors back yard but they did not even glance over here.

I do have some tiny wind chimes hooked to different plants and the deer are startled by them when they chime, they run off lickety split. 

Maybe a new tactic to discourage the deer???

Good bye for now, come again.  I will have more to share…and I love sharing. Smile


signaturePamela

Related Posts Plugin for WordPress, Blogger...