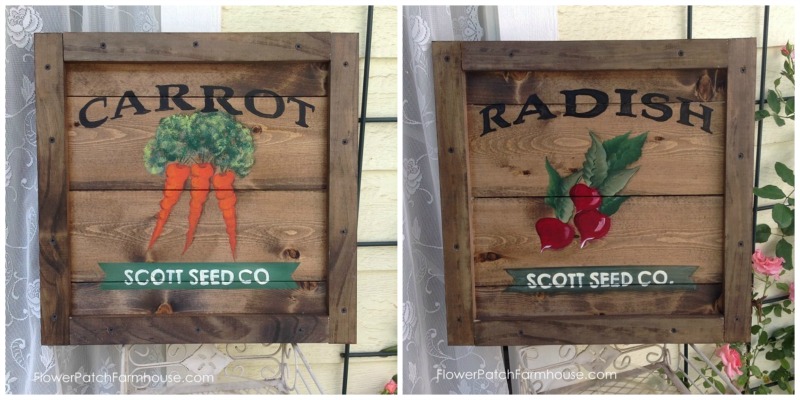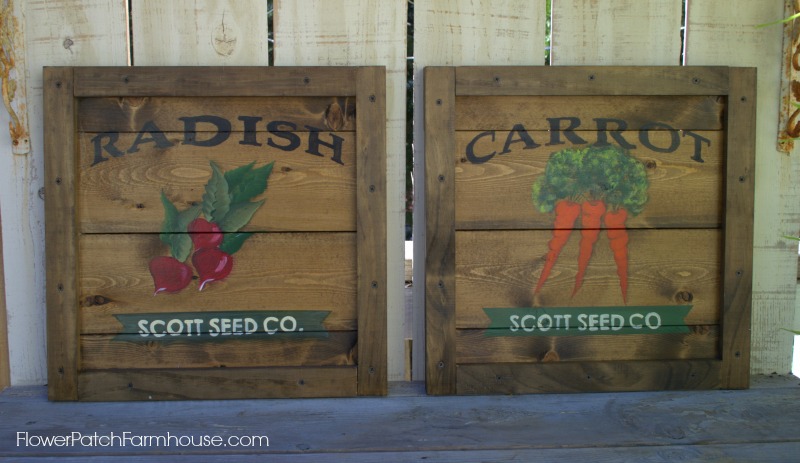
As promised in my last post I am back to show you how to paint the radishes and carrots to finish off your faux vintage signs.
If you missed the last post on building the faux crate sign just Click Here or on Photo Above
At the end of this post is a link to the pattern for these signs along with a supply list.
Nothing fancy, but it is what I had sketched up and/or printed for these and you might find them useful.
First lay out your pattern or copy the one in the link onto your surface with graphite paper.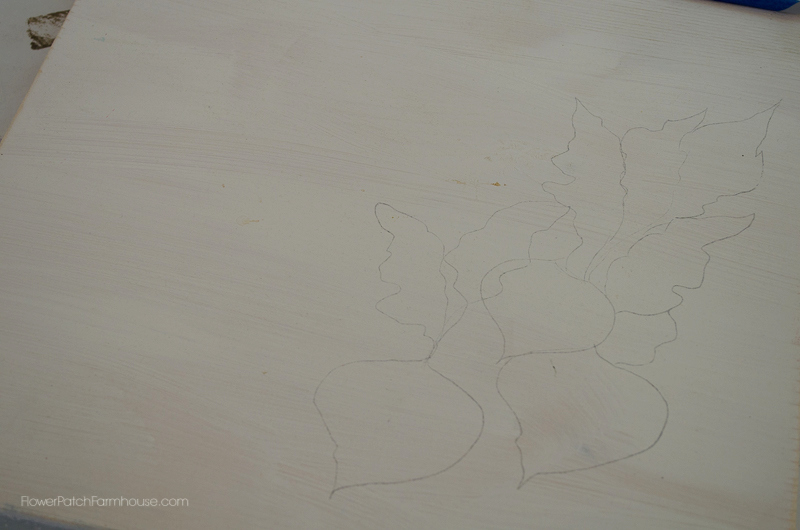
I used a #12 flat to paint the background leaves.
Double load the brush with Black Forest Green and Avocado.
Stroke in the leaves using a elongated scallop stroke.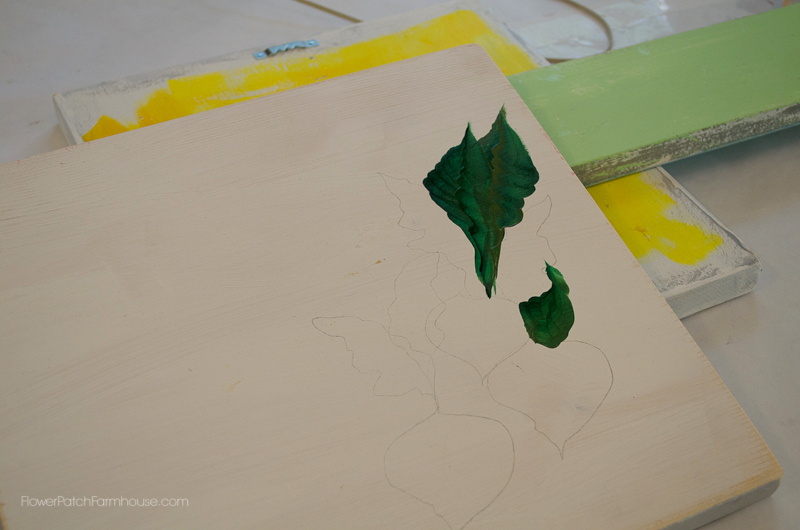
You can let that dry for a minute or two while you get out your next colors.
For the lighter leaves I used a #10 flat brush and double loaded with Avocado and Celery Green.
Again stroke in a elongated scallop stroke.
If you prefer you can let the first coat dry and do another to get the lighter green more opaque.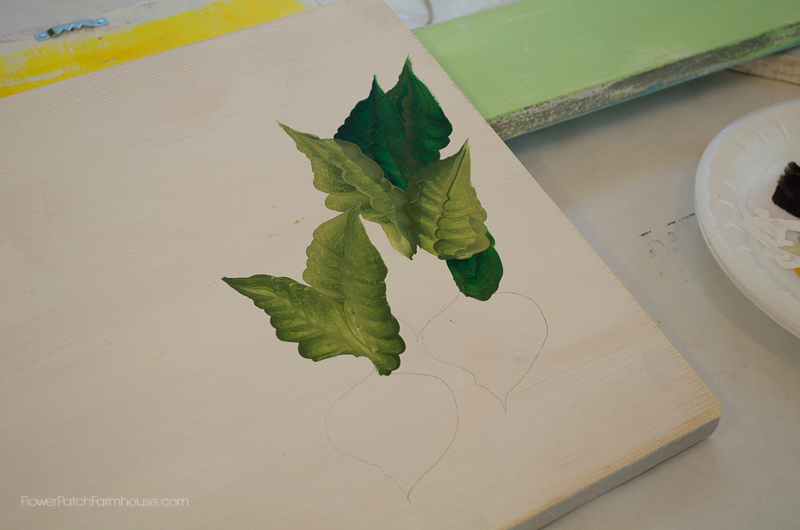
I did not get a photo of it but the radishes needs to be undercoated with white at this point.
On a dark surface craft paints are dulled so if you want a color to show up brighter always undercoat with white.
After the white dries paint in the radishes with Cranberry Wine.
Reds are not opaque so you may want to do a couple coats.
After Cranberry Wine dries, then paint on some Alizarin Crimson on areas you want some brighter red.
Let that dry, then add a touch of Primary red.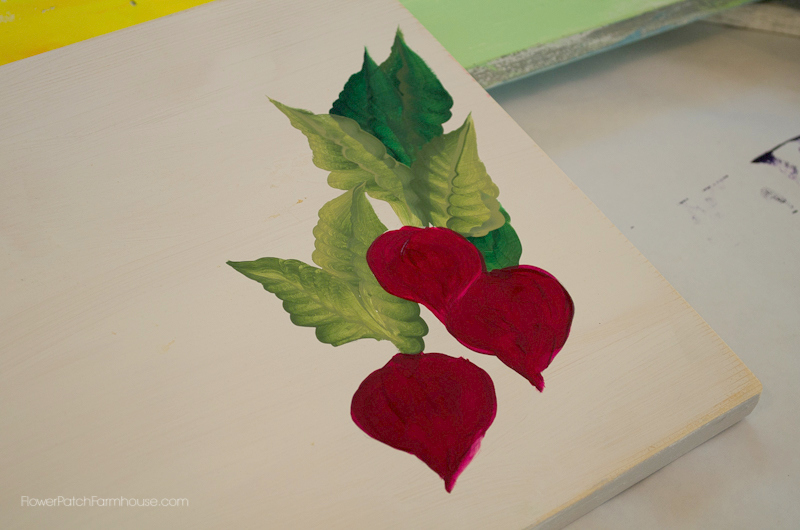
To add some highlights add a touch of white in a slight comma stroke to a curve.
And a line of white at the tip with the edge of your brush.
Add a shadow under the middle radish with cranberry wine mixed with a touch of black.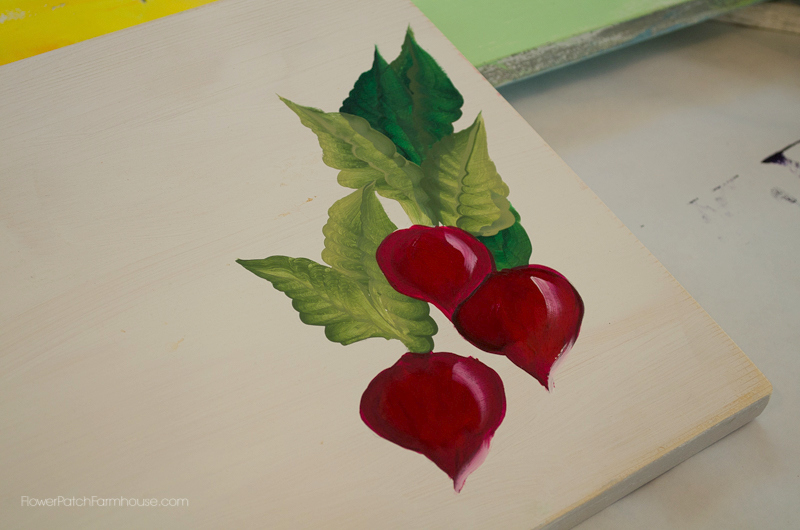
Now on to the carrot
Again draw on your carrots.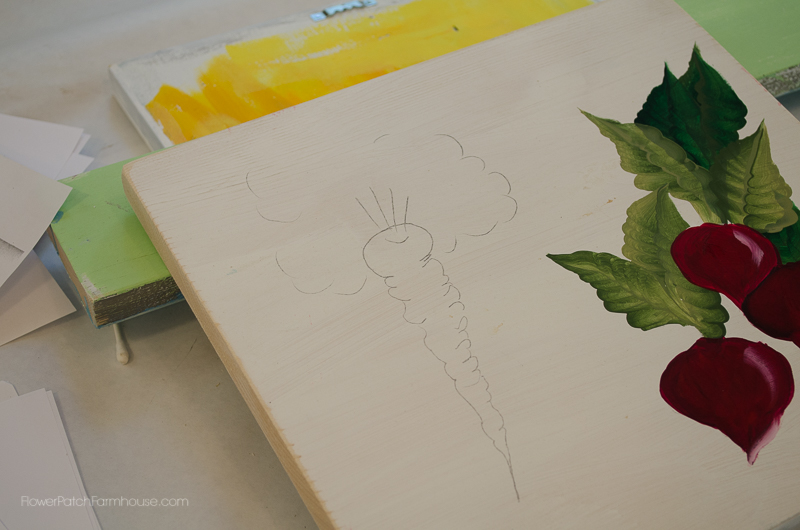
I failed to photograph the foliage on the carrot, but basically you pounce in Evergreen with a scruffy brush, then add a touch of Irish Moss as a highlight.
If you look at the foliage in the photos you can see how I did it and I hope to add the video soon.
I undercoated in Georgia Clay and a #10 flat brush.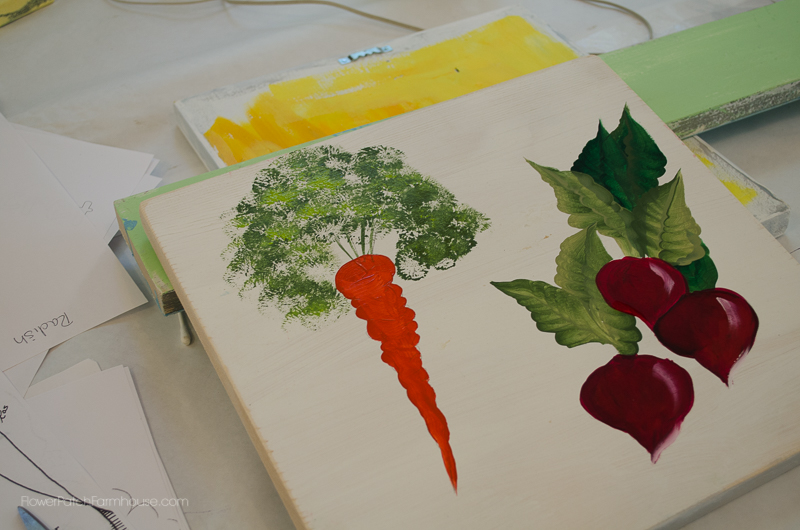
Let that dry then go over that with Tangelo Orange.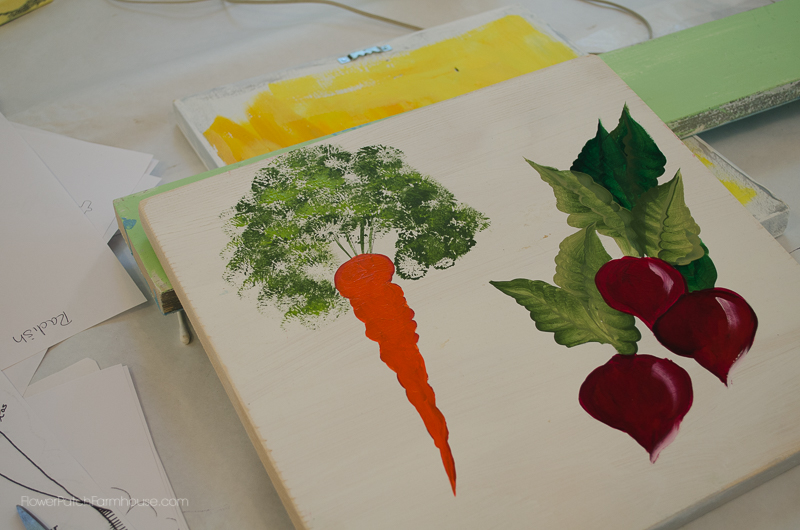
Add dimension with some shadowing, sideload the brush corner with Burnt Umber and stroke along areas to simulate creases.
With a liner brush add some little roots.
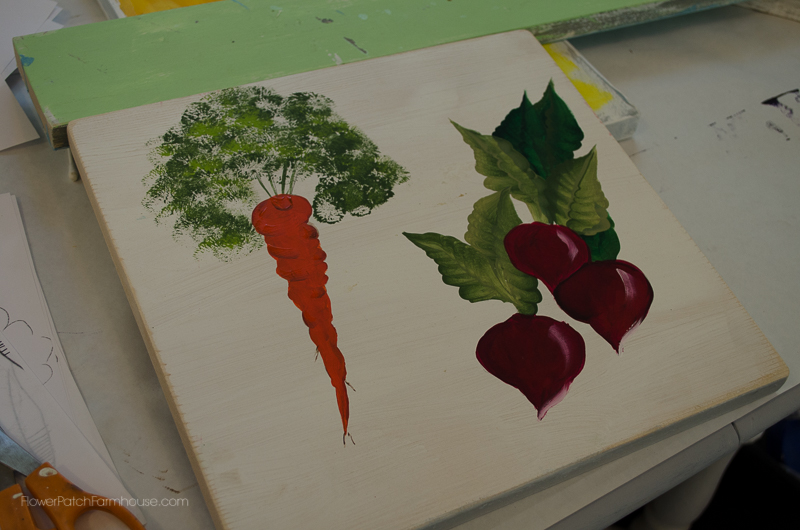
Once the paint dries thoroughly either wax over it all to protect or use a coat of Varathane (only water base, an oil base will lift acrylic paints)
Oh, I almost forgot.
To do the lettering just trace over the Radish or Carrot pattern onto your surface and fill in with black paint.
Click here to view a video on how I do my lettering for most signs.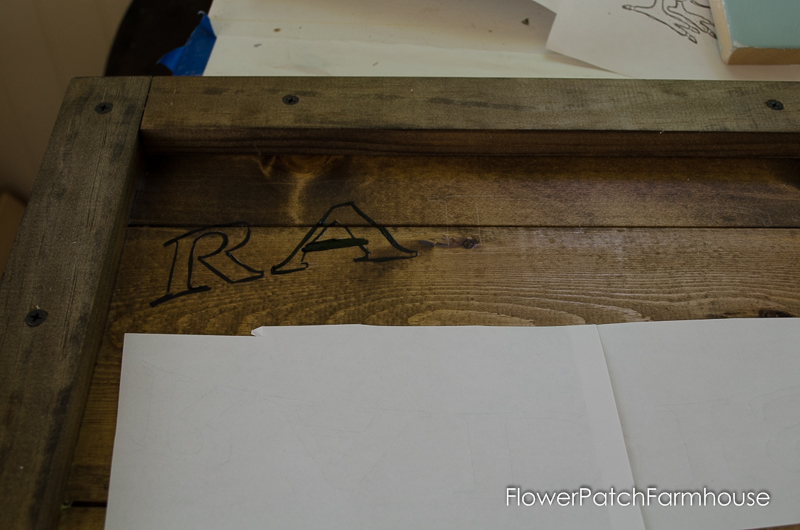
The bottom is a simple banner I taped off with painters tape and filled in then added the lettering after printing it out in Word.
Scott is my maiden name so that is why I picked Scott Seed Co. to add the finishing touch.
Here they are hanging in my studio over my painting table.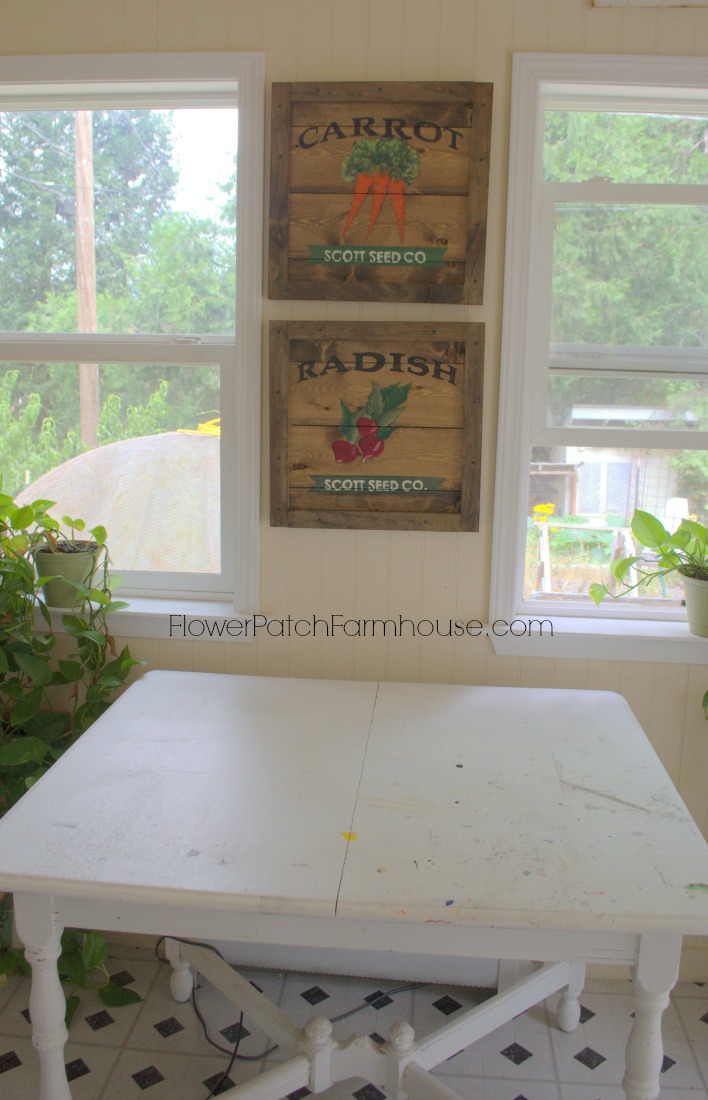
I mentioned before that I am working on the video to accompany this post, when I made it for some reason the microphone did not work so now I have to go back over and add the narration.
I will add the link to it as soon as I am done adding the audio.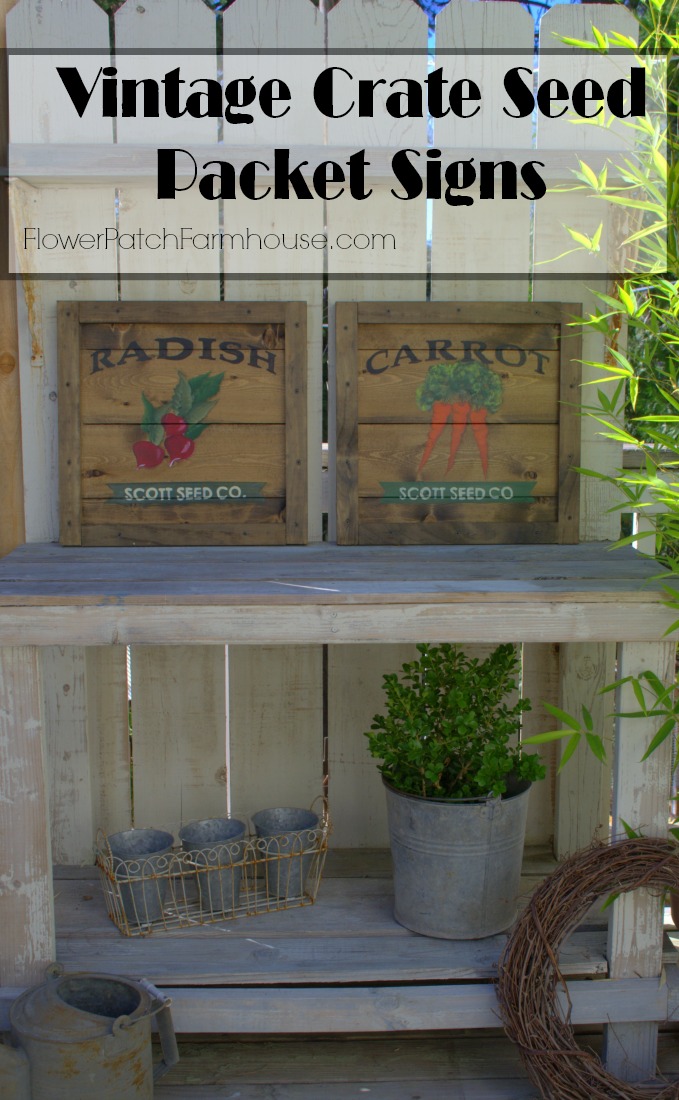
Or if you prefer…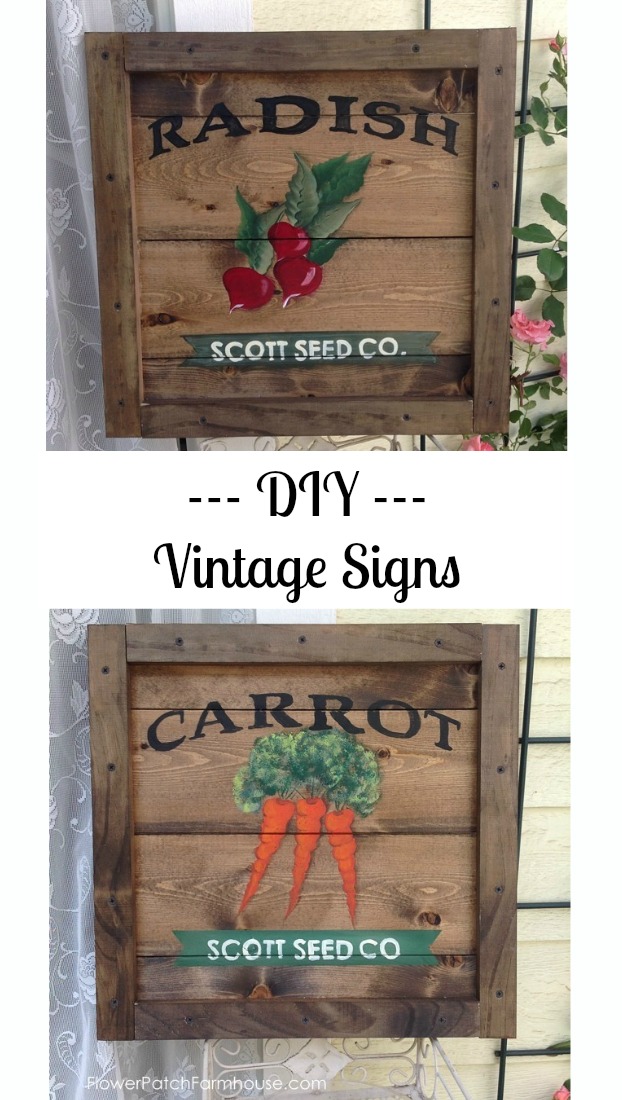
Paint away and make yourself some vintage seed packets signs soon.
Download patterns and painting supply list


